When you’re working on a custom and complex solution using WooCommerce, there is a chance you’ll have to create your own custom WooCommerce product type. In this tutorial, we will learn how to do that.
Product types can be various things such as Bookings, Subscriptions, Tickets or something completely different. If you want to learn how to build advanced product type, I invite you to read some of the product types of the most popular WooCommerce plugins such as WooCommerce Subscriptions or WooCommerce Bookings.
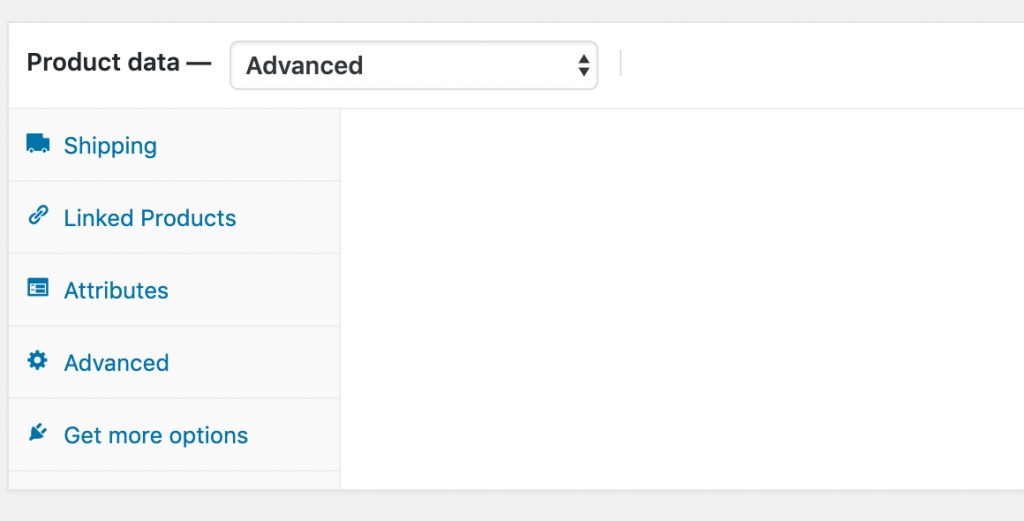
In this tutorial, we will create an Advanced product type to show you how you can show current prices, enable custom prices and also add a different panel for it.
How do you create a custom WooCommerce product type? You need to:
- Define a new WooCommerce Product Type class
- Add the type to WooCommerce product type filter
- Add the type as a product type taxonomy
- Refactor methods (if needed)
- Add new settings (if needed)
- Save new settings (if needed)
Those are some basic steps and there are a lot of things you’ll probably find out by coding it. I’ll try to save you a few hours with the skeleton code that we will create here.
Before we start coding, go to wp-content/plugins and create a folder wc-product-type and inside of it create this:
- file
wc-product-type.php - folder
includes - file
includes/class-wc-product-advanced.php
Define the WooCommerce Product Type
Before even coding, you should define what your product type will do. That will help when deciding which product type to extend. Maybe, you’ll extend the abstract class if it’s something completely different.
Our Advanced product type will be simple. It will provide an advanced pricing for administrators or any user who can manage options. So, we also need to provide the option to change the regular price for others.
With that in mind, we can code our WooCommerce product type on top of the Simple product type.
Insert the following code in wc-product-type.php.
We will load all WC dependencies after WooCommerce has loaded using the action woocommerce_loaded. This will make sure that when we include our own product type, the WooCommerce product types do exist before.
Don’t forget to activate the plugin so you can see the changes.
Now, open other file includes/class-wc-product-advanced.php and insert this:
That’s all for our product type. We refactor the get_type method to return the type of the product and we also refactor the get_price. We could have filtered it, but for the purpose of this tutorial, I wanted to show you that you can completely change the inherited methods if you need to.
This way, we are escaping all filters and returning the price for the members (administrators with this code).
Now that we have our product type, let’s connect it with WooCommerce.
Adding the Product Type in the Dropdown
We need to filter the available WooCommerce product types and add our own. That way, the user will be able to select our product type.
Let’s now add this to our main plugin file:
Adding the Product Type as WooCommerce Product Type taxonomy
WooCommerce, most of the time, will create the product type on the first product that is going to be saved as that product type. But if we want to make it initially available, we can do that when the plugin is activated.
We are checking if there is such a term. If there is none, we will add one.
Adding Advanced Product Pricing
To add the new pricing, we will add that to the general tab, under the other pricing options.
We have now an issue here where our pricing does not show up.

So, what is wrong here? WooCommerce is using JavaScript to conditionally show the tabs and content. The General tab will show up if there is any options_group in there that has show_if_advanced. Let’s add an empty element to the General tab panel.
We have now added an empty options_group that needs to be shown when using the Advanced WooCommerce product type.
But we still have an issue.
Now, the General tab is showing up but the pricing options do not. Why? Because the regular pricing options are showing only if the Simple product type is selected. There is no filter available to make it appear on other product types so what can we do here? We have 2 options:
- Show the pricing with JavaScript,
- Create a new regular pricing options (with different names) and through JavaScript listen to the change and update the regular ones also.
We will go with the first option.
Showing the Regular Pricing Options for a custom WooCommerce Product Type
To show the regular pricing options, we need to add the show_if_advanced class to that options_group and also show them on load if the current product is the Advanced one.
We could have create an external JavaScript file for that, but for the purposes of this tutorial, I’ve put that inside of the admin footer. Since it’s a specific one and it does use PHP to show the pricing options, you could leave it as it is. No harm done.
Now, we have fixed the issue and all pricing options are showing up.
Adding Product Type tab and panel
Let’s now add the tab and panel for our WooCommerce product type.
With this code, we have added a tab that will show only if we have chosen the Advanced product type. We have also added the panel that will be triggered to show when that tab is selected. It is initially hidden. Otherwise, it could show up on the initial page load.
This panel and input is only to show how to do that. We won’t be saving this in the next chapter.
Save WooCommerce Product Type settings
Let’s now hook onto a WooCommerce saving process action so we can save data specific to the select WooCommerce product type.
WooCommerce uses the action woocommerce_process_product_meta_{PRODUCT_TYPE} to process specific data for a product type.
Here, you can add your own saving process for the specific data you want to save.
You now have a fully functioning custom WooCommerce Product Type 🙂
How to work with Namespaced WooCommerce Product Types?
If you working on a solution and want to be sure everything will always wok fine, you’ll probably namespace your solution. What if we add Namespace MySolution; on the first line of includes/class-wc-product-advanced.php (and instead of WC_Product_Simple we use \WC_Product_Simple)?
It won’t work. If you try saving or loading the product, it will always return to Simple Product type. Let’s learn how to fix that 🙂
This part is available only to the members. If you want to become a member and support my work go to this link and subscribe: Become a Member
Download the Code
You can download the code here. Be sure to change the namespace example to what fits your need and also extend the main class with whatever options you need.
This part is available only to the members. If you want to become a member and support my work go to this link and subscribe: Become a Member
Conclusion
Creating a custom WooCommerce product type can be a great way to provide more granular control over product types and how they sell (or what they provide).
By using the power of OOP and inheritance, you can skip most of the code that was already written in other product types and focus only on the specific parts of your product type.
Have you ever created your own product type? Let us know what you did in the comments below.
Become a Sponsor


Add to cart button does not show.
Excellent post, thank you. No problems my side on twentytwenty child theme.
Igor, Thanks for writing this and the great sample code.
I have created a new post type with namespace: “\MIP_Catalog\WC_Product_MIP_Vendor”, and using the hook woocommerce_product_class for return our namespaced CPT class, now wordpress returns a php error saying that class “MIP_Catalog\WC_Product_Simple” doesn’t exists….
I’m getting so crazy with that error because, I’m returning “\MIP_Catalog\WC_Product_MIP_Vendor” from the filter hook, not “Simple”; and woocommerce seems to getting only the first side of the returned string.
Had you seen this error in other sites?
Thanks in advance.
Hi Jose, it seems that the product type is still saved as Simple product since it returns MIP_Catalog\WC_Product_Simple (if the code is similar to one above).
If you would share the code, I could maybe try and guess what is going on wrong there. You can send me the link to the code through the contact form if you do not wish to post it here.
It’s a great start but unfortunately there’s no Add to cart button.
I’ve created a custom product type for discontinued products, which become unpurchasable with no price, and the product type is working perfectly. Except: It seems to be saving information, like price and stock, if the product was originally a simple product before being changed to a discontinued product. Is there anyway to “clear” the info from other product types for this product when it’s changed to a discontinued product type? I hope that makes sense!
What do you mean by saving the information? If you put the price there in the admin area, unless you define through a filter to not disable the price, it will always be shown.
What to do if I want to want to image upload option to the custom product data type
what will be the function
woocommerce_wp_text_input this is for text and what will be for image
Please let me know
Hi Sam, for an image upload, I think you would need to create a custom image file upload or utilize the media uploader.
Tried it didn’t worked. This article supports new version 6.0.1 of Woocommerce?
It should. That part has not changed as far as I know. But I’ll take a look at their filters and such to be sure.
I have coded another products type, however, when Square for WooCommerce now doesn’t recognise the new products type and when I revert to just simple product, it recognises it again, what can I do here?
Apart from that it’s amazing 🙂
I’d check the code of Square for WooCommerce. they probably have a method or something that defines for what type of products is that available.
Maybe there can be a filter to extend that.
What if you want to register multiple product types at the same time?
You’ll have to define them all within those hooks we used.