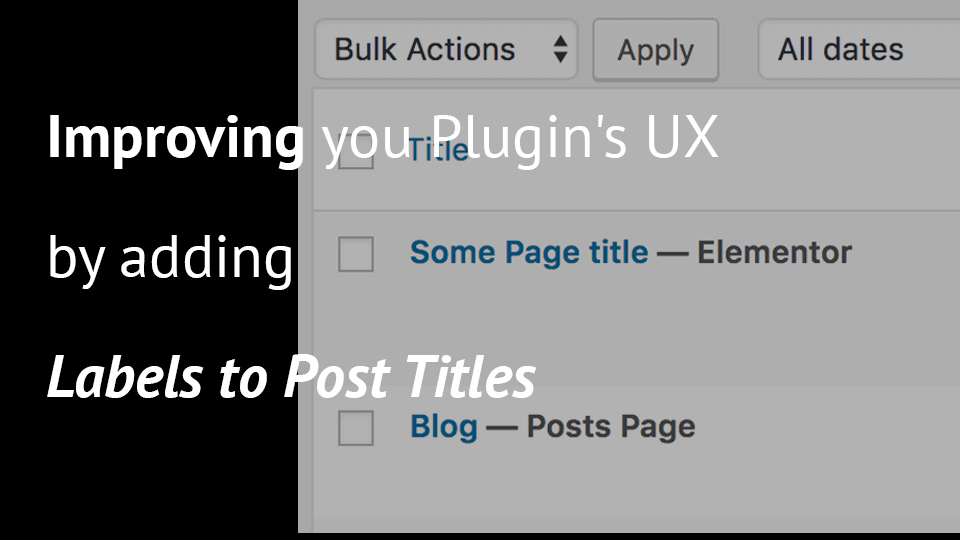
When your plugin has custom post types or is extending the regular pages or posts, you can improve the overall user experience just by adding a label (post state) to the post title. In this short tutorial, you’ll learn how to do that.
Practical WordPress Tutorials
When your plugin has custom post types or is extending the regular pages or posts, you can improve the overall user experience just by adding a label (post state) to the post title. In this short tutorial, you’ll learn how to do that.
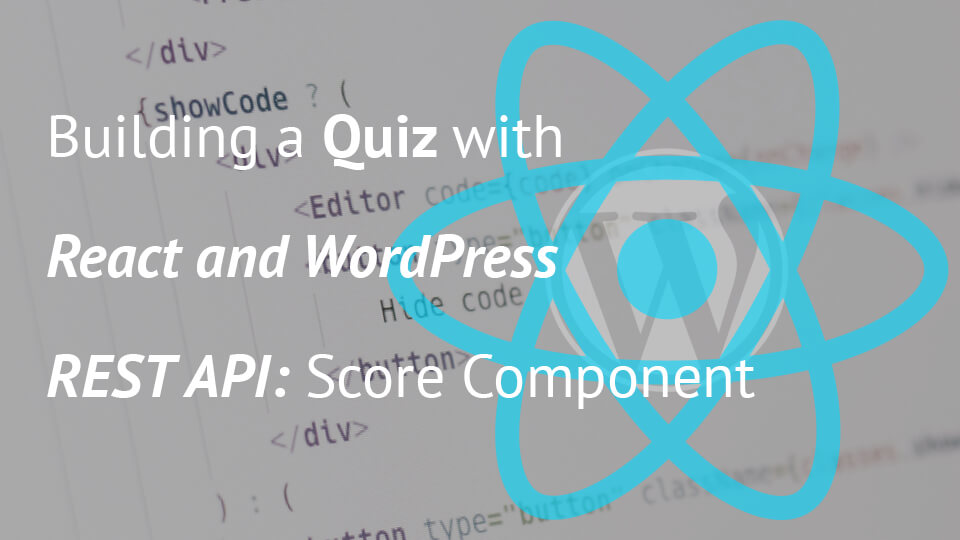
The Score Component for our Quiz will render the data that we are retrieving through REST API. We will create a new React Component Score and add it to our Quiz Component.
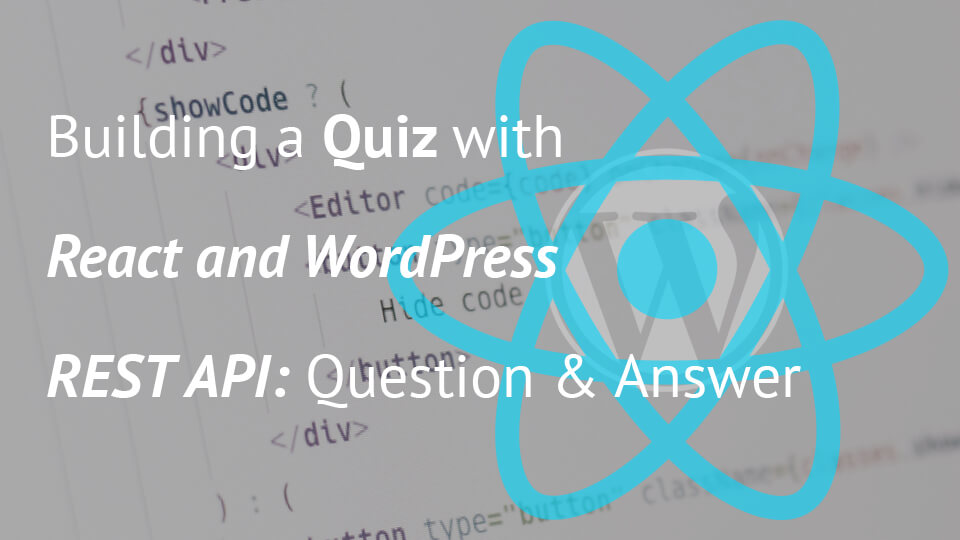
For a Quiz to function properly, we need to have questions and answers. In the previous tutorial, we create the main React Component Quiz. We will learn, in this tutorial, how to create a Question and Answer Component.
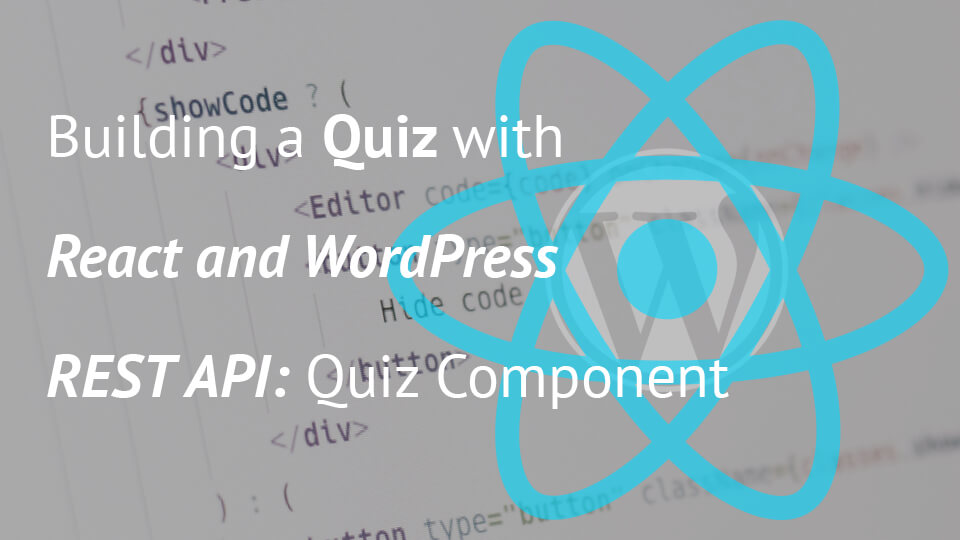
The main Component of our React Quiz will be the Quiz Component. In the last tutorial, we have integrated the React WP Scripts into our plugin. Now, we are going to move forward by changing the files and adding new ones.
To create a Quiz with React, we need to configure our scripts that will compile modern JavaScript (ESNext) and JSX. We could go into and construct everything on our own or we can use tools that already exist. In this tutorial, we will see how to use the react-wp-scripts by Human Made.